Studio Elements
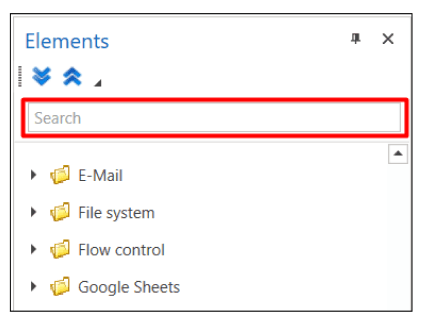
All available process components are grouped thematically in the Elements panel. For example, the MS Excel group contains specialized elements for working with Excel.
At the top of the panel is a search bar for quickly finding elements.
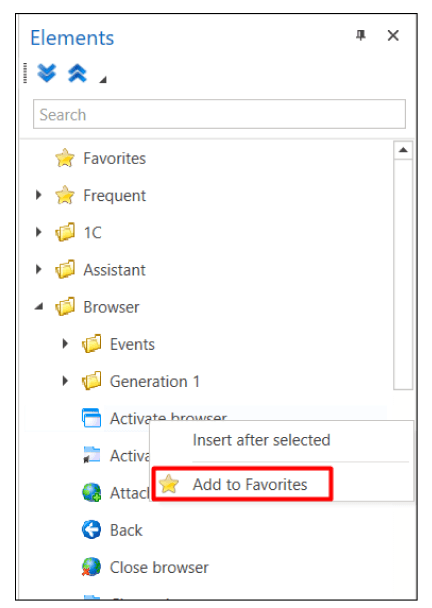
- Favorites - for quick access to favorite elements. Elements are added to favorites manually. To do this, call the element’s context menu and select Add to Favorites:
- Frequently - for quick access to elements that are most often used in the project.
Adding Elements to the Process
You can add elements in one of the following ways:
- Drag-and-drop - select the component in the elements panel and drag it to the desired part of the process.
- Context menu command. Select the element in the elements panel, call its context menu with the right mouse button, select Insert after selected.
Requirement: there must be at least one element in the process to indicate the insertion position.
Element Properties
Each element has unique parameters available in the Properties panel. To view an element’s properties, add it to the process and click the element. A panel with parameters (properties) will appear on the right.
The Properties panel consists of several informational sections:
- The top section displays the element’s internal name and its unique identifier (ComponentId).
- The middle section lists the properties.
- The bottom section provides a brief description of these properties (help).

Properties can be displayed as a regular list or grouped. Use the buttons ![]() to switch between the modes.
to switch between the modes.
All elements share a set of common properties:
- Continue on exception — the scenario continues to run even if an exception occurs while executing the element.
- Disable logging — disables writing logs to the console (for this element only). For instance, if the element handles confidential data. You can also enable or disable logging for all new elements added to the project globally. To do this, go to File > Settings > General > Elements and set the desired value in the Disable logging for new items checkbox.
- Name — the element’s name displayed in its header and in the log. You can rename the element within the process for convenience, for example when using several identical components.
- Screenshot on finish — takes a screenshot at the moment the element finishes execution. Screenshots are saved to the
.Screenshotsfolder, which is automatically created inside the process folder. - Screenshot on error — takes a screenshot if an error occurs.
- Wait after (ms) — adds a delay after the element has executed.
- Wait before (ms) — adds a delay before the element is executed. This can be useful, for example, if the website you are interacting with takes time to load and you need to wait before proceeding to the next element. A similar function is provided by the Wait element.
If the Properties panel or other interface panels disappear accidentally:
- Go to the top menu View → Panels
- Select Reset Panels
The interface will return to its default state.
Note: This does not affect your process or settings, only the layout of interface elements.
Specific properties are described in the articles dedicated to each element. You can find descriptions of all built-in elements in Primo RPA Studio (Windows) [here].
You can also modify properties directly in the element’s own fields:

Property Values
Values can be of the following types:
-
Constant — plain text (for example, in the Name property) or a checkbox (for example, Continue on error). For text fields, you can often see a toggle button to switch between Code and No Code modes:

In No Code mode, the entered data is interpreted as constants or variable names (that is, it is not treated as code).
-
Variable — selected from the list of variables created for the process and displayed as a drop-down list:

-
Calculated value — an expression written in the programming language selected when creating the process (C#, Python, or JavaScript). Even if you need to specify a regular string, enclose its text in quotation marks and escape special characters according to the rules of the chosen language (the details of these languages are beyond the scope of this guide).
A calculated property always includes a ”…” button:
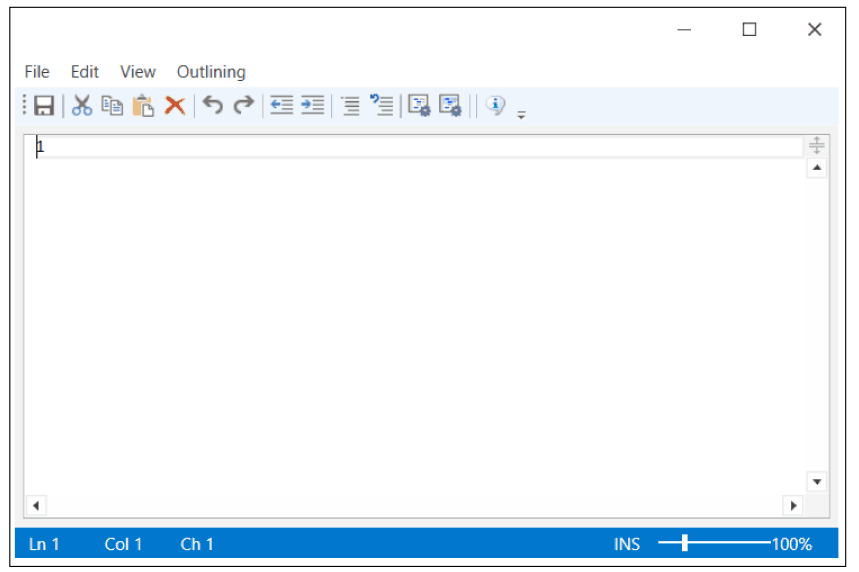
When you click the ”…” button, an expression editor form opens:
- Search pattern — an expression that defines the control’s search pattern. Whether a search pattern is available depends on the element type.
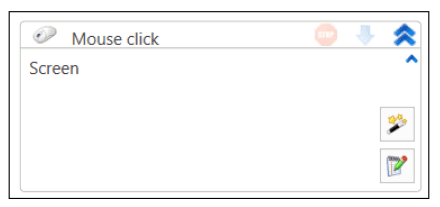
Element Screenshots
Some elements include a Take Screenshot function that allows capturing a selected segment of the screen.
Screenshots can help users quickly understand what each element interacts with during the process.
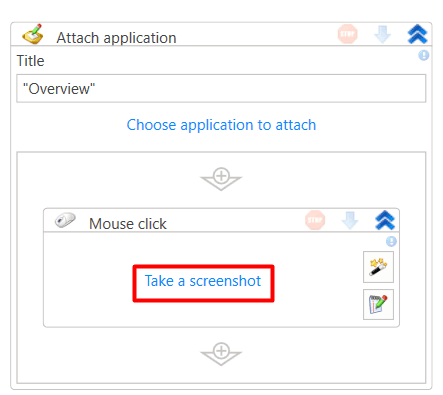
To create a screenshot, click Take Screenshot and select a screen segment. The created screenshot will appear on the element’s panel.
Additionally, the screenshot is saved in the project’s .Resources folder.
The screenshot name corresponds to the ID of the element it belongs to.
You can manage the screenshot through its context menu. The following commands are available:
- Take Screenshot — replaces the current screenshot.
- Clear — deletes the screenshot.
Follow these guidelines when working with the screenshot function:
-
Use only one monitor.
-
In RDP sessions, make sure that:
- The remote desktop scale is set to 100%.
- Smart resizing is disabled.
Annotations
You can add a brief description (annotation) to each process element. The description will be displayed immediately below the element name.
To add an annotation, activate the element panel and click the exclamation mark in the upper right corner - a text input area will appear.
Element Management
Additional actions with elements can be performed by calling the context menu. When you right-click (right mouse button), the following commands are available:
- Cut
- Copy
- Paste
- Delete
- Comment out elements - temporarily disabling execution. The element will be placed in a Comment out container and will be ignored when running/debugging the process. When selecting multiple elements, the elements will be commented out in bulk. The command is not available for the root sequence.
- Uncomment elements - the command is only displayed for the Comment out container, which contains the commented elements.
- Move element in try/catch - automatically wraps elements in an exception handling block Try-Catch.
- Move to new sequence - calls the sequence creation window, after which it moves the selected element to this sequence. The command is not available for the root sequence.
- Execute from element - starts the process from the selected element.
- Enable logging - Function available since version 1.24.10
- Disable logging - Function available since version 1.24.10
- Help - opens the documentation page for the element in the browser.
Batch Enabling Logging of Elements
Since Studio version 1.24.10, the ability to manage logging of process elements in bulk has been added. Now you can disable or enable logging for multiple activities at once. To do this:
-
Select the necessary elements, holding down the Shift key and selecting the first and last activities in the list.
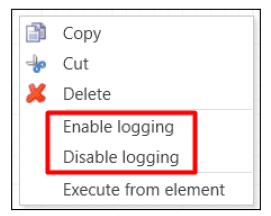
-
Right-click on the selected elements and select the Disable logging or Enable logging option.
Note: Exception information will be logged regardless of the batch logging settings of the Exception element.
Element Properties Display and Syntax Editor
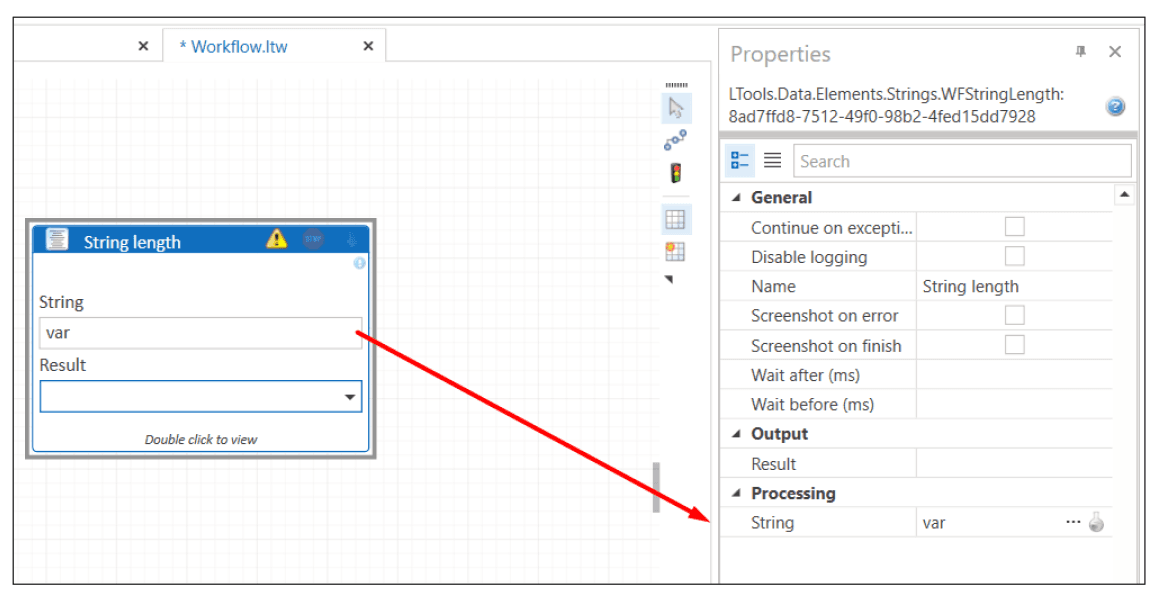
Since version 1.25, the ability to display frequently used element properties directly on the element panel has been added.
Now, the data entered in the activity parameters is automatically synchronized with the corresponding element properties displayed on the right side of the window. This feature speeds up configuration and control of parameters.
To activate this feature:
- Go to File → Settings → General → Elements.
- Select version v2.
- For processes with the type Workflow, check “Show workflow elements design”.

In addition, a built-in syntax editor (IntelliSense) supporting auto-completion of methods and program expressions has been added.
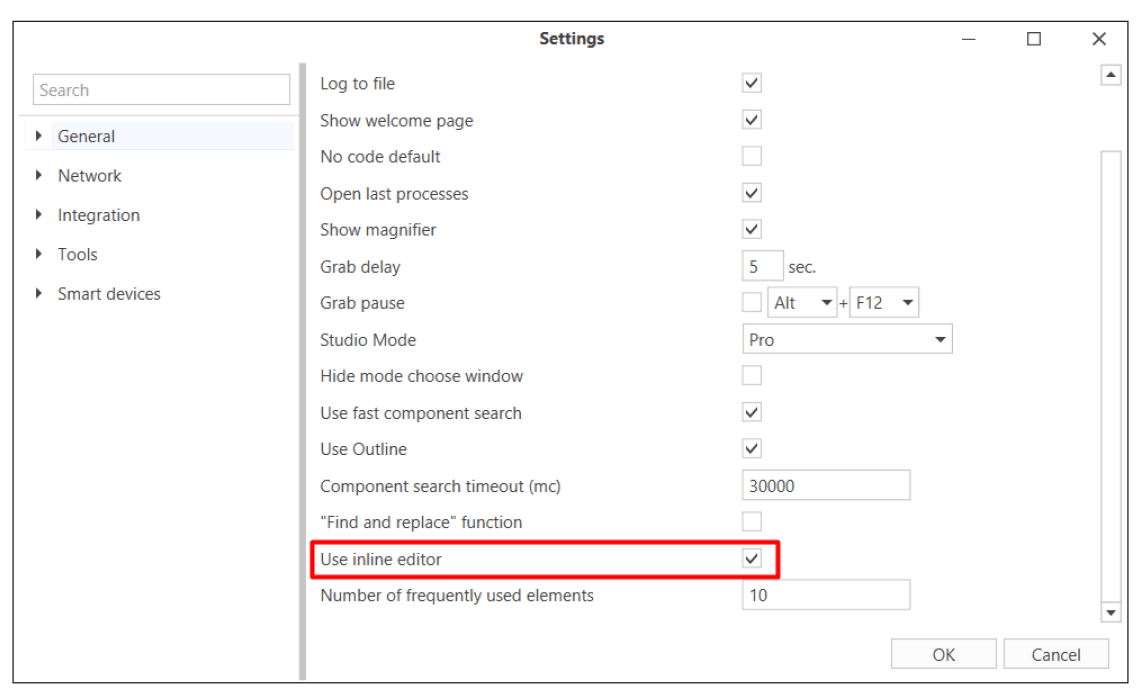
To activate the syntax editor:
- Go to File → Settings.
- Check the box in the Use inline editor parameter.
The editor is enabled by default.
With the built-in syntax editor, you can check the correctness of the entered expressions. When an incorrect expression is entered, the editor will highlight the problem area with a red underline.
Automatic Parameter Definition since version 1.25.3
New Select buttons to simplify filling in properties:
- Browser activities:
- Open browser → Choose browser button (auto-completion of browser type and URL)
- Attach to browser → automatic completion of tab title and URL
- Activate tab → automatic definition of tab parameters
- Login → Select tab button
- Process work:
- Kill application → Select process button (automatic completion of process name and title)
- Attach to application → automatic definition of application parameters
NuGet Package Elements
Elements are divided into two types:
- Built-in - basic elements included in the standard Primo RPA Studio package
- Additional NuGet - not included in the basic package and require separate installation through NuGet packages
After installing the NuGet package, new elements automatically appear in the elements panel
How to work with additional elements:
- Install the necessary NuGet package through:
- Dependency Manager in Primo RPA Studio
- Manual download from NuGet.org
- After installation, check for the appearance of new elements
- Use them in processes as ordinary built-in elements