Dialog Editor
The Dialog Editor is designed to create custom dialog boxes used in RPA processes. It works with the Input Form (Custom Form) element.
Creating and Configuring Dialogs
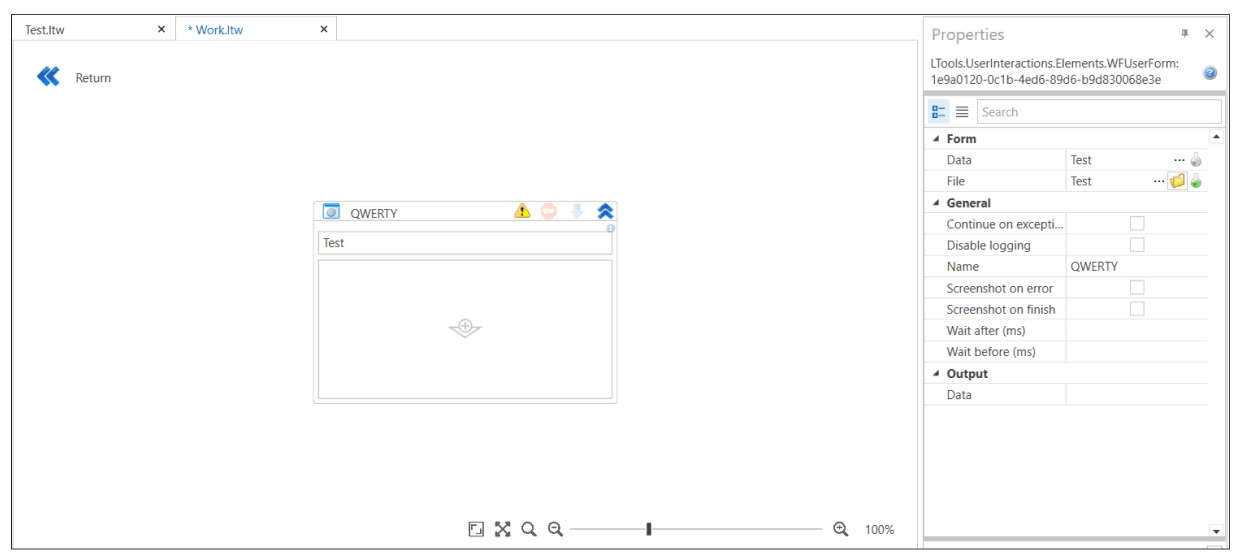
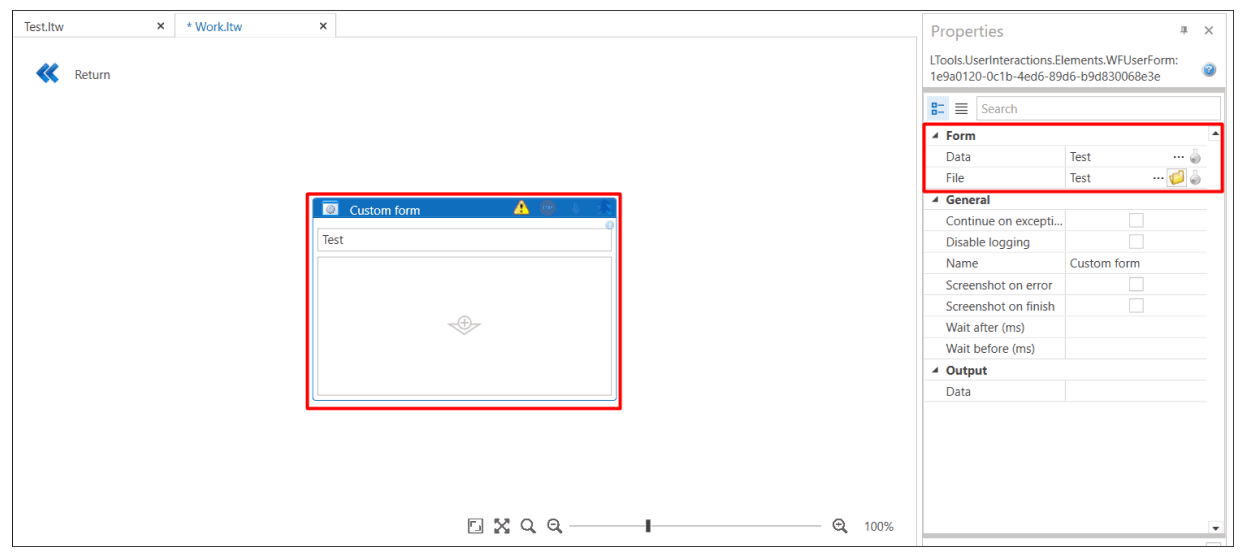
To create a new dialog, click the Create Form button to start working with a blank template. You can specify the title in the properties:
Use the buttons to save the dialog:
- Save - saves the current dialog
- Save As - saves under a new name
Adding Elements
- To add an element to the dialog form, drag the desired elements from the Elements panel onto the dialog form.
- Available elements include (but are not limited to):
- Text fields
- Buttons
- Date selection fields
- Checkboxes
- Other controls
Configuring Element Properties
Each element has a set of properties that can be configured in the Properties panel. A required property for all elements is:
- Name - the main property used for external interaction with the element.
Testing the Form: Before saving, it is recommended to check the appearance and behavior of the form:
- Click the Test Form button to preview.
- Check the correct display of all elements.
- Make sure interactive elements are working correctly.
Using Dialogs in Processes
Connecting to a Process:
A saved dialog can be used in the Input dialog element:
- Specify the path to the template file in the element properties.
- Use the Data property to pass data.
Dialog form files in Primo RPA are saved in a special .pff format.
You can get the values of the elements from a variable specified in the Data property (in the Output group).
Passing Data to the Form
forminput.TextEdit.Add("textbox", "test text")Where:
forminput- a variable of typeLTools.UserInteractions.UserFormResult"textbox"- the name of the text field"test text"- the value passed to the element
Getting Data from the Form
string value = formdata.TextEdit["textbox"];Where formdata - a variable from the Data property (in the Output group).
The dialog window will appear until the close button is pressed or the “Close Form” element is called. To get the name of the last pressed button, you can use the following construction (closing the window returns null):
formdata.Action